
 We are entering the pie season, everyone! Think of all the fall flavors – pumpkin, pecan, apple, oh my! If you love pie and want to learn how to make a delicious, flaky crust but have been afraid to try – join me this Saturday, October 10, 10:30 a.m. for a hands-on pie crust class. We will take a short break to let the crust chill, and you can register for part two, where I will teach you how to make my mother’s Buttermilk Pie. It’s THE best y’all!
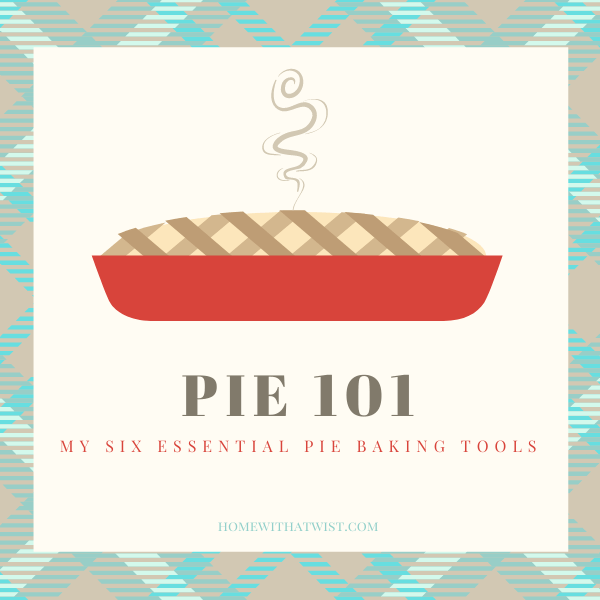
Regardless if you learn your pie skills from YouTube or me, there are some basic tools you will need to bake pies like the British Baking pros. Here are my Six Pie Baking Tools:
What kind of pie pan do I need? I have done the work for you. Research says the two best types of pie pans – are either a 9-inch glass Pyrex dish or a metal pie plate. Let’s break it down.

Pyrex Easy Grab Pie Plate
Glass heats slowly and allows heat to build gradually and evenly. It also allows you to check on the progress of the bottom of your pie. This set is the Pyrex Easy Grab Glass Pie Plate. Comes in a set of two at Amazon here.

Goldtouch Pie Pan
Aluminum and steel pie plates heat up quickly and evenly, which tends to be great — unless your pie needs to be in the oven for a long time, and then you run the risk of over-browning. This pan is the Williams-Sonoma GoldTouch Pie Pan here.
Rolling Pin. I like a wooden French rolling pin, but that’s my preference. I feel like I have more control over the dough’s thickness because I can guide the dough with my hands instead of the handles. It’s lighter and more maneuverable than its American cousin. I like this one from Amazon.

Non-Stick Baking Pat. I like to roll my pie, cookies, and bread dough on a non-stick baking mat. What’s nice about a baking mat is it’s oven safe up to 480 degrees so you can also use it to not only roll your doughs but bake your cookies and other baked goods on it assuring non-stick features—no need for oil, parchment paper, or cooking sprays. For easy cleanup, I prefer not using my countertops to roll out the dough. You can roll mats up to store in the cabinet. I like this set from Amazon.

Pie Weights. I bought a container of pie weights years ago, and I am so glad I did. Pie weights come in handy when the recipe requires you to pre-bake the pie shell before pouring in the filling. The weights keep the dough from shrinking, bubbling, or buckling while it bakes. You can pick up a set at Amazon for less than $6.

Pastry Cutter and Bench Scraper. Some recipes will instruct you to use a food processor, but I prefer to mix my dough by hand. A pastry cutter is helpful during the first step of breaking down your butter and flour. After you’ve rolled out dough, a sturdy bench scraper will make quick work of any mess. It’ll scrape up all the flour and stubborn dough scraps left behind, helping you clean up in a few easy swipes. Plus, it’s handy for dividing blocks of dough without scratching the counters. This set is from Amazon.

Pie Shield. I use a pie shield every time I bake a pie. The shield allows pies to rise, reduces spillage, and prevents pie crusts from burning or over-browning. It’s a great tool. This one is from Amazon for $7.
You can add other things to your tool kit, but for now, these six kitchen tools will be a great start to your pie-making success!
If you want to register for this Saturday’s Pie 101 Class, check it out here. After you register, I send you the recipe, instructions, and Zoom access link.
Then, on October 24 you can put your pie dough making skills to good use when we meet again to make Chicken and Sweet Potato Pot Pie here.
I hope this helps to inspire you to take advantage of the cooler weather to bake something fabulous. Let’s meet me in my kitchen without ever having to leave your home!
 Hospitality is in my DNA. I founded Home with a Twist, a daughter’s twist on her mother’s traditions, in memory of my mother to celebrate her life and the gifts she shared with me. Mother loved to celebrate life’s occasions – big and small.
